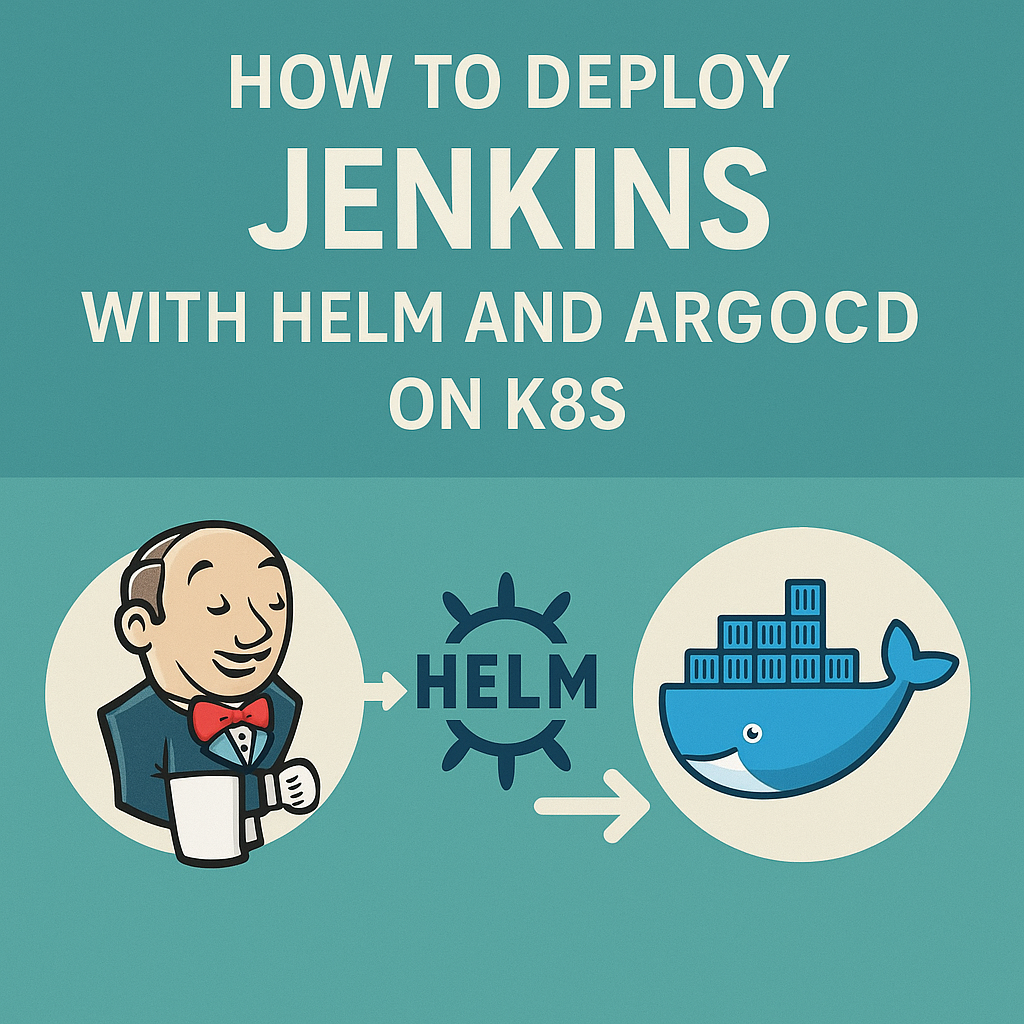
How to Deploy Jenkins with helm and agrocd on k8s
Introduction
Jenkins is a widely used automation server for continuous integration and continuous delivery (CI/CD) pipelines. Deploying Jenkins on Kubernetes with Helm and ArgoCD” offers unmatched scalability and flexibility. By leveraging tools like Helm and ArgoCD, you can streamline deployments and ensure a consistent, automated workflow. This guide will walk you through the process step-by-step to set up Jenkins on a local Kubernetes cluster
Prerequisites
Before you start, it’s important to ensure that you have the following tools installed on your local machine.
- Kubernetes Cluster: Set up a local Kubernetes cluster using Minikube, Kind, or any other local Kubernetes solution.
- Kubectl: The command-line tool for interacting with your Kubernetes cluster.
- Helm: A package manager for Kubernetes.
- ArgoCD: A declarative, GitOps continuous delivery tool for Kubernetes.
Step 1: Set Up a Local Kubernetes Cluster
If you don’t have a local Kubernetes cluster running, you can use Kind (Kubernetes in Docker) to set one up.I have installed kind on my ubuntu 22 machine.Please refer below links to install & configure k8s with a single control plane and with multiple worker nodes
Refer1: https://kind.sigs.k8s.io/docs/user/quick-start/
Refer2:https://phoenixnap.com/kb/kubernetes-kind


As you can see there is one control plane & 3 worker nodes are running .
Step 2: Install Helm
Helm is essential for managing Kubernetes applications. If you haven’t installed it yet, follow the steps below:
Download Helm:
 curl -fsSL -o get_helm.sh https://raw.githubusercontent.com/helm/helm/main/scripts/get-helm-3
 chmod 700 get_helm.sh
 ./get_helm.sh
Verify the installation:
helm version

Reference : https://helm.sh/docs/intro/install/
Step 3: Install ArgoCD
ArgoCD is used to manage your Kubernetes resources through GitOps. Install ArgoCD in your Kubernetes cluster:
kubectl create namespace argocd
kubectl apply -n argocd -f https://raw.githubusercontent.com/argoproj/argo-cd/stable/manifests/install.yaml
Reference : https://argo-cd.readthedocs.io/en/stable/getting_started/
- After installation check all pods are created & running
kubectl get pods -n argocd

2Access the ArgoCD UI either by port-forwarding or by exposing the service as a NodePort. Here, I have used NodePort to expose it
kubectl expose service argocd-server --type=NodePort --name=argocd-server-nodeport -n argocd --port=80 --target-port=8080Get the node port by checking the exposed service.Here it will be argocd-server-nodeport

We can see that node port is 32748.Now need to get the worker node ip.We already have that info by kubectl get nodes command.We can use any of the 3 worker nodes ip.I am taking the kind worker ip.ie172.18.0.5
You can now access the ArgoCD web interface at https://172.18.0.5:32748
3.Retrieve the ArgoCD initial admin password:
kubectl -n argocd get secret argocd-initial-admin-secret -o jsonpath="{.data.password}" | base64 -d

4.Log in to ArgoCD using the username admin and the password retrieved.

Step 4: Deploy Jenkins Using Helm
Now that Helm and ArgoCD are set up, we can deploy Jenkins.
1.Create a Namespace for Jenkins
Organize your Kubernetes resources by creating a dedicated namespace for Jenkins:
kubectl create namespace jenkins
This step ensures that Jenkins and its associated resources are isolated from other applications.
Go to application tile in argocd & click on NEW APP section

Give the values under GENERAL section as follows
Application Name:jenkins
Project Name:default
Sync Policy:Automatic
Please make sure to tick the checkboxes for the parameters below:
Prune Resources-Automatically delete resources from the cluster when removed from Git. Keep your environment clean and in sync!
Self Heal-Detect and revert manual changes in the cluster to match the desired Git state
Under Sync Options tik the check box for Prune Last
Prune Last In-Sync
Definition: When enabled, ArgoCD delays the deletion (pruning) of resources that are no longer defined in the Git repository until the application is fully synchronized (in-sync).
Purpose: It ensures that resource deletion happens only after the application has reached a stable and consistent state, minimizing risks during deployment changes.

2.Add the Jenkins Helm Repository
Under the SOURCE section, set the Repository URL to the official Jenkins Helm chart repository: https://charts.jenkins.io. Be sure to select HELM as the source type instead of GIT.
For more details about the repository, you can visit the Jenkins Helm Charts GitHub page.
When configuring the Charts section, the system will automatically suggest the chart name as jenkins. Simply select it and choose your desired chart version.
Cluster URL:https://kubernetes.default.svc
Namespace:jenkins(previously created)
Make sure you have selected ‘Helm’ from the dropdown. You can see other values like ‘Plugin’, ‘Directory’, etc.”

3.Customize the Jenkins Values File
VALUES FILES: select values.yaml
Modify two parameter values as:
controller.admin.password-Admin1234#(jenkins admin password)
controller.serviceType-NodePort(To access jenkins gui via nodeport)
Finally click on create.It will take some time to create all the resources
After some time you can see argocd will show healthy for the application

Also check using kubectl to verify the pods got created

Now we can login to jenkins console by giving node port for the jenkins service.We can get it easily from the argocd itself
1.go to application -click on jenkins

2.Select the svc jenkins section and go to details

3.You can see the node port

4.now login to jenkins dashboard
http://172.18.0.5:32517


Conclusion
By following this guide, you’ve successfully deployed Jenkins on a local Kubernetes cluster with kind using Helm and ArgoCD. This setup not only allows you to deploy Jenkins efficiently but also to manage it using a GitOps approach with ArgoCD, providing better version control and automated deployment capabilities.In the upcoming sections we will discuss how to deploy sample applications to k8s using jenkins with cicd capabilities.